ButtonsWe use button symbols to link to a certain frame or frames in the timeline in flash CS4. To create a button one must do the following One might use a button to create interaction between the user and the interface. Buttons are a graphical navigational element that allows the target to navigate the movie or link to an external link. One may also use a button to carry out a simple Action Script 3 command such as “stop();” to stop the movie. One may use a button to advance to a different place in the movie. For example to navigate to a different place in the movie one may use action script commands such as “gotoAndStop(frameNumber);” The best thing about buttons is that one can control them with Action Script.
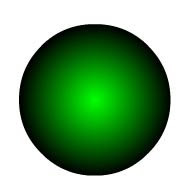
1. Using one of the shape tools create a simple shape such as a circle or a rectangle

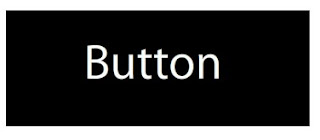
2. Add the text or additional elements that you would like to be included with the button
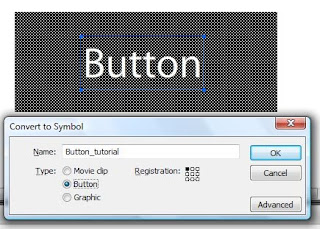
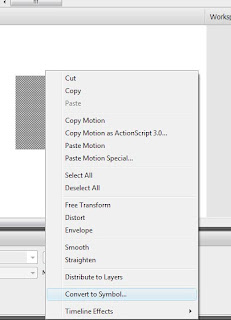
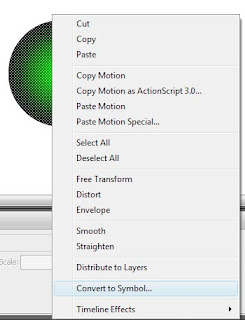
3. Using the multiple selection tool or by holding shift and selecting all button elements right click them and click convert to symbol alternatively you can press F8 or from the top menu, Modify >> Convert to symbol
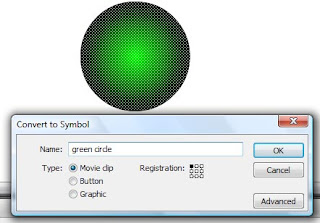
4. A dialogue box will pop up with three different symbol options such as movie clip, button, and graphic
5. Click button, name it appropriately and click ok (if it is not named it will be harder to manage later on)
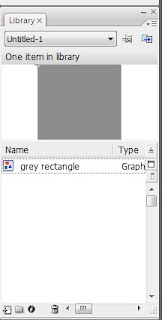
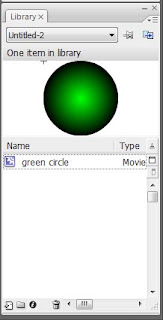
6. Now the button will be added to the symbol library
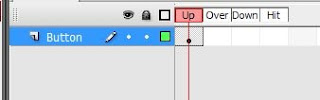
7. Double click the button in order for the button timeline to appear
8. The timeline will appear with four frames for up, over, down, and hit
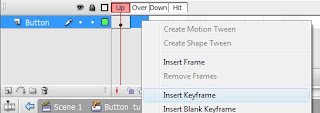
9. Now select the timeline section for up and create key frame now change a graphical element of the button such as text or the button colour do the same for the next three key frames
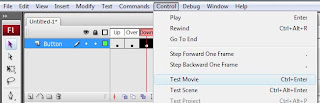
10. Now to link the button to a website or a part of the flash movie one will need to carry out action script 3 commands-I only knew AS2 Commands : (
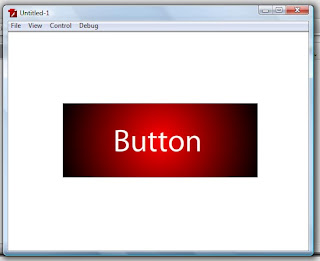
11. Now press ctrl + enter to test the button. We test a movie to see how it will behave on the internet
12. CONGRATULATIONS YOU MADE A SIMPLE BUTTON
Graphic
One might create a graphic symbol when they need to use multiple copies of the same item in the animation instead of creating the object again and again. One can then create an animation from these graphical symbols
1. Using one of the shape tools create a simple shape such as a circle or a rectangle
2. Using the multiple selection tool or by holding shift and selecting all button elements right click them and click convert to symbol. Alternatively you can press F8 or from the top menu Modify >> Convert to symbol
3. A dialogue box will pop up with three different symbol options such as movie clip, button, and graphic
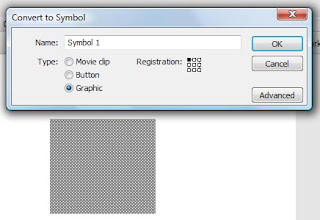
4. Click graphic, give an appropriate name and press ok (if it is not named it will be harder to manage later on)

5. Once it is converted it will be inserted into the symbol library
6. By dragging the symbol from the symbol library it will be created on the stage. (multiple symbols can be created dragging multiple times)
Movie Clip
If one needs to use AS3 commands they will have to use a movie clip. A movie clip symbol is a piece of reusable flash animation that can also be controlled with ease. One can perform modifications to a movie clip such as modifying elements such as dimensions, position, color, alpha. A movie clip can also be controlled easily using Action Script 3 commands. These are the simple steps to create a movie clip:
1. Using one of the shape tools create a simple shape such as a circle or a rectangle
2. Using the multiple selection tool or by holding shift and selecting all button elements right click them and click convert to symbol. Alternatively you can press F8 or from the top menu Modify >> Convert to symbol
3. A dialogue box will pop up with three different symbol options such as movie clip, button, and graphic
4. Make sure that the movie clip radio button is selected and name the symbol appropriately (if it is not named it will be harder to manage later on)
5. Now the symbol will be created in the symbol library and can now be dragged and dropped from the symbol library for use.
Font
One may create a font symbol to export fonts from Flash document to another. Although i have never created a font symbol with the right amount of research and experimentation I will describe the steps one needs to follow to create one
1. Open the font library in which you would like to create a new font for
2. Select new font from the library panel
3. Enter a name that you want to recognize the font by in the name text field (if it is not named it will be harder to manage later on)
4. Select the font family from the font family list enter a name for the font
5. If you want to embed the font information as bitmap selects the bitmap option. When you select the bitmap option you can also change the size from the size dialogue box
Visual aids are added


